That’s a lot of progress! Good job. I can’t wait to see it working with your MOD ![]()
4 Likes
That looks amazing. How did you do the lettering?
3 Likes
Thanks, @Austin73!
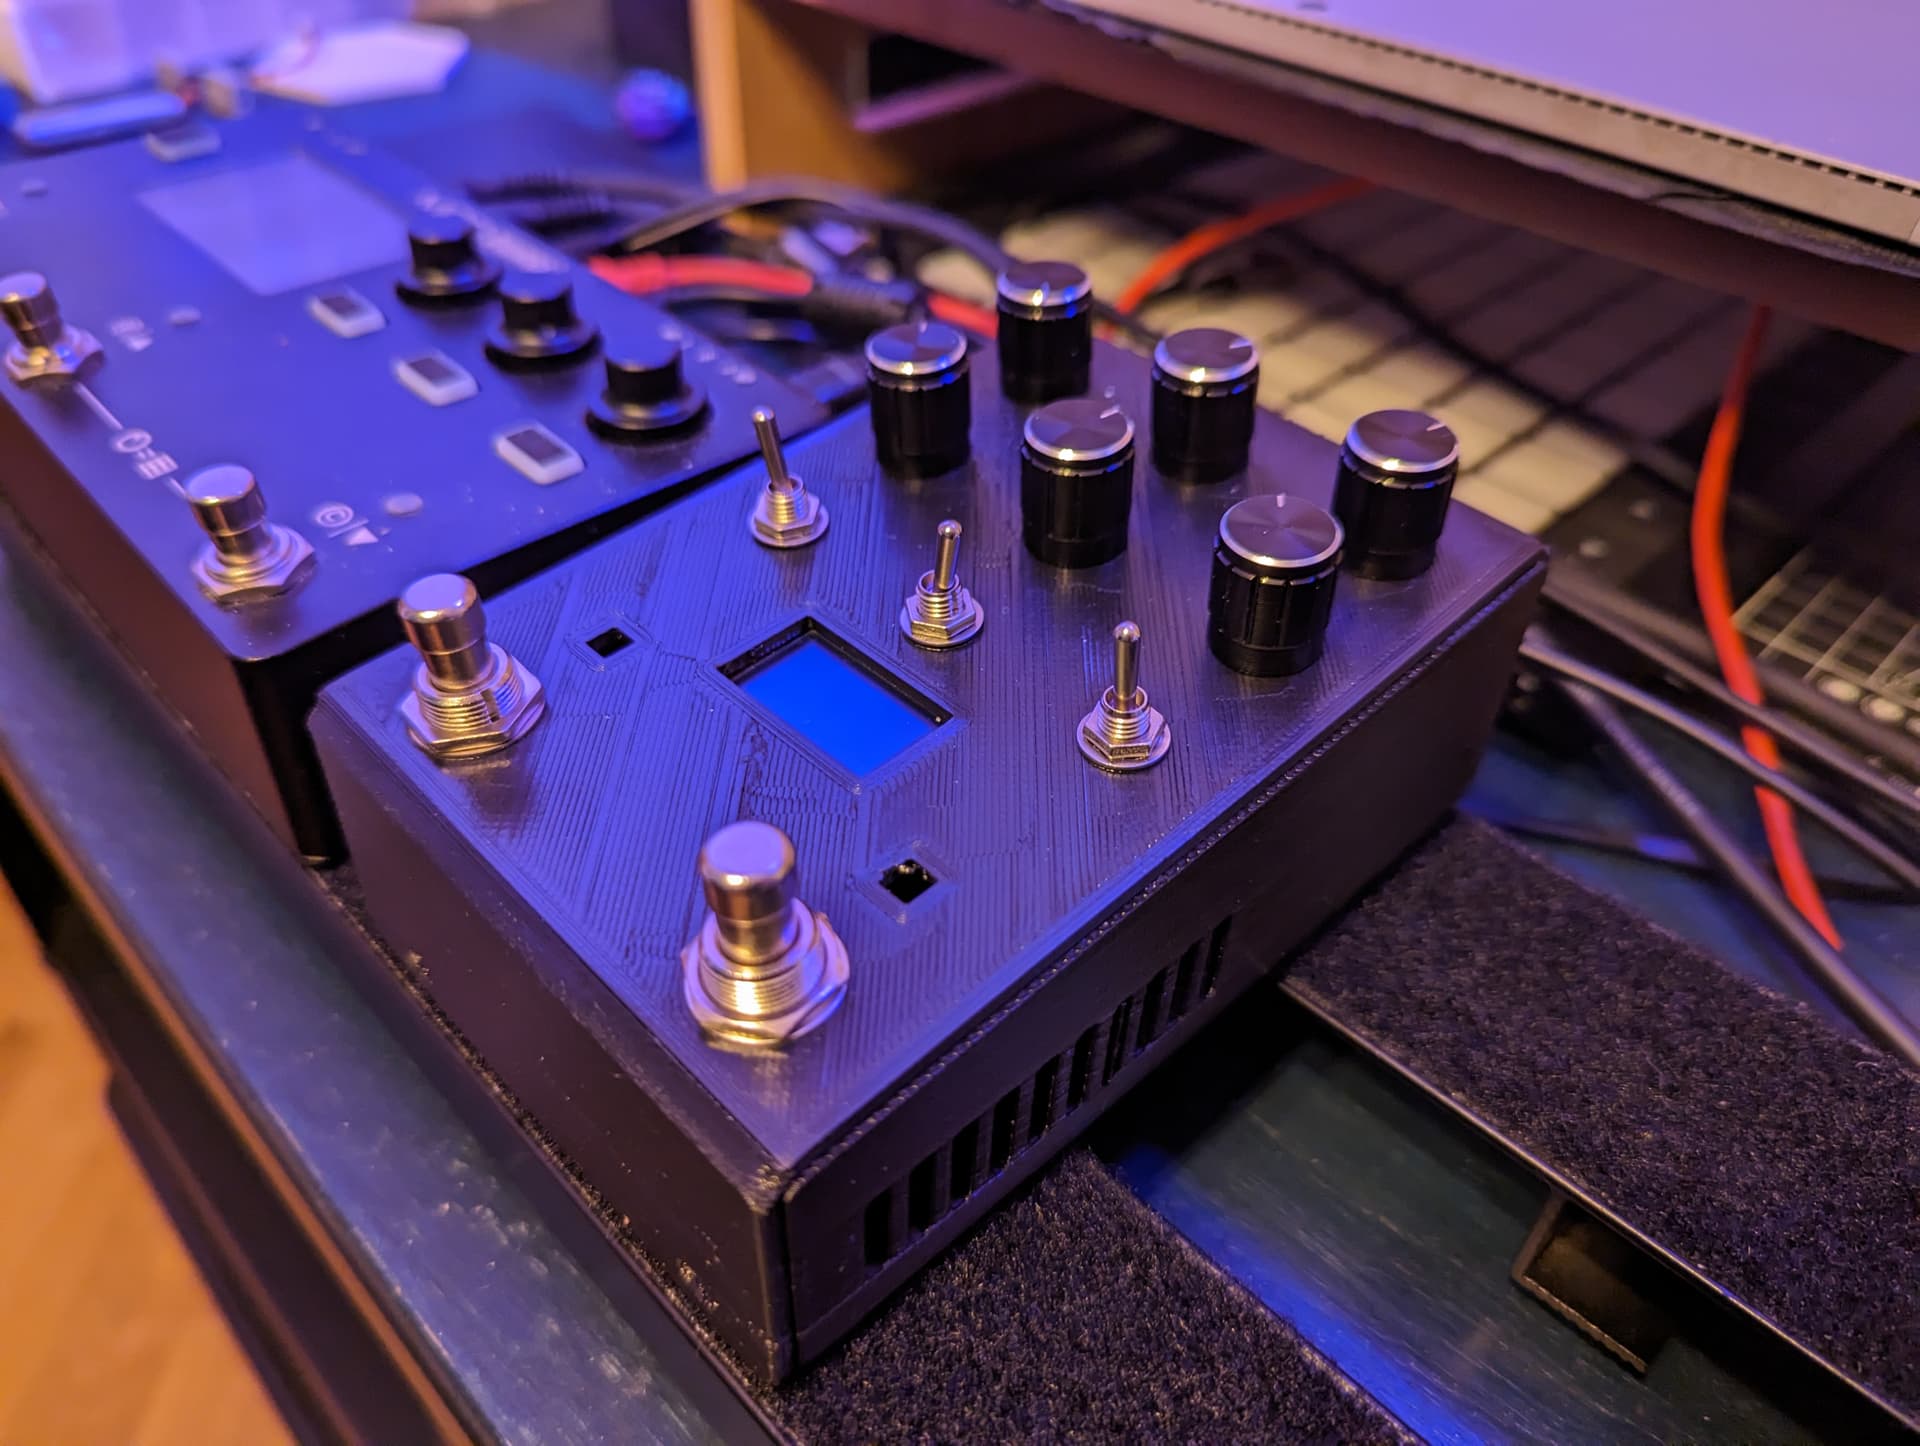
This is how I did the lettering: (1) spray paint the chassis, 2 or 3 layers, wait for the paint to dry ![]() (2) put a masking tape over the place where the lettering would be; (3) laser engrave the letters on a cnc machine right through the tape and through the paint, so that the letters are etched into the paint; (4) fill the etched letters with white paint (I borrowed my wife’s white acrylic paint marker - if your wife doesn’t have one, she should get one, so that you can borrow it, this is crucial); (5) while the white paint is still wet, gently remove the tape, if needed clean up the letters’ edges with a piece of cloth or a cotton pad (you should know where your wife keeps those before you get to do the lettering); (6) spray over with transparent acrylic coating.
(2) put a masking tape over the place where the lettering would be; (3) laser engrave the letters on a cnc machine right through the tape and through the paint, so that the letters are etched into the paint; (4) fill the etched letters with white paint (I borrowed my wife’s white acrylic paint marker - if your wife doesn’t have one, she should get one, so that you can borrow it, this is crucial); (5) while the white paint is still wet, gently remove the tape, if needed clean up the letters’ edges with a piece of cloth or a cotton pad (you should know where your wife keeps those before you get to do the lettering); (6) spray over with transparent acrylic coating.
It takes some nerve and steady hands, I experimented and practiced on a spare piece of aluminium before I got to the unit itself.
It’s a painstaking process so if anyone knows a better way of doing it please please let me know.
5 Likes
I need to borrow her laser cnc machine first but not sure where she keeps it! ![]()
4 Likes
I say start looking by checking her garage or your father-in-law’s toolshed. Them women be very cunning when it comes to hiding machinery from their lawful husbands: I still can’t find where my wife hides her 3D printer for the life of me!
P.S. There are not-so-expensive cnc machines on Aliexpress that can do the job. This is a treacherous path though, it’s never enough and you always want more, just like GAS with guitars or other musical gear. Well, you kno.
3 Likes
Oh I know, I’ve nearly completed Aliexpress!
Gotta catch them all ![]()
4 Likes
BTW, now that I have a much more powerful laser, I wanna try to engrave aluminium itself without having to paint it. Will let you know how it turns out if you’re interested.
7 Likes
Yeah that would be cool
1 Like
do you plan on releasing the code? I’d be very interested to build something similar in a smaller form factor.
1 Like
I can try and release the code, although (a) I’m not a big expert in all concerning github, and I’m not sure I want to spend a lot of time studying it, (b) I had to do quite a lot of customisation in the CC library itself, so my code may not be backward compatible with the possible updates if/when the guys from MOD release an update, (c) my code is not very well commented, so it may be hard to read, (d) I was adapting the code specifically for Arduino Mega, a few things are hard coded.
But I’m happy to share the code, of course, and answer reasonable amount of questions ![]()
6 Likes
no worries - if it’s easier just zip it and upload that. I’ll probably use it as a reference point.
Last I checked the CC stuff was a little hit and miss - even with the dev board. At least the concept is kind of ready.
7 Likes
Nice! What Arduino board is it based on?
The chassis is 3D-printed plastic?
Pots or encoders?
What’s the planned use for the flip switches?
2 Likes
Ok, here’s the code - an Arduino sketch and a heavily customised Arduino control chain library, for reference only, on an ‘as-is’ basis.
I’m open for any suggestions/improvements though.
NB: switching of snapshots with a control group does not function properly and causes the code to hang. The MOD guys promised to fix this in 1.13 release, I’m patiently waiting.
4 Likes